


Was it just me that as a kid thought that the Macbeth Witches speech went as follows: Hubble Bubble Toilet Trouble? what a dufus hey!
Ok finally got round to posting this in time for you to make a cute mini spell book for Halloween.
What you'll need:
Small piece of scrap Leather, the more wrinkled and aged the better
Small scrap of Cardboard (Hard back of a notebook would do fine)
1 piece of printer paper
Scrap of decorative Paper
1 O Ring
Gold Sharpie Pen (permanent marker)
Scissors
Hot Glue Gun
Bull Dog clip/Bag clip
Needle (to punch a hole)
Yellow Pages (to lean on)

1. Take one piece of printer paper (A4 if you're in the UK) cut it into 1 inch slices along the width of the paper. Divide the paper up into 5 smaller pieces which should measure roughly 1& 3/4 inches across. I used N.American sized paper which I know is different to A4 so you'll have to play around with the sizes. Make a big pile of these rectangles then fold them in half and squeeze them with a bag clip/bulldog clip. All of the folded 'spines' should be facing the same side and that side should be poking out of the clip.

2. From Cardboard cut 2 rectangles, 7/8ths of an inch by 1 1/4 inches, these will be the front and back of the book,the spine should measure roughly 5/8's by 1 1/4 inches.
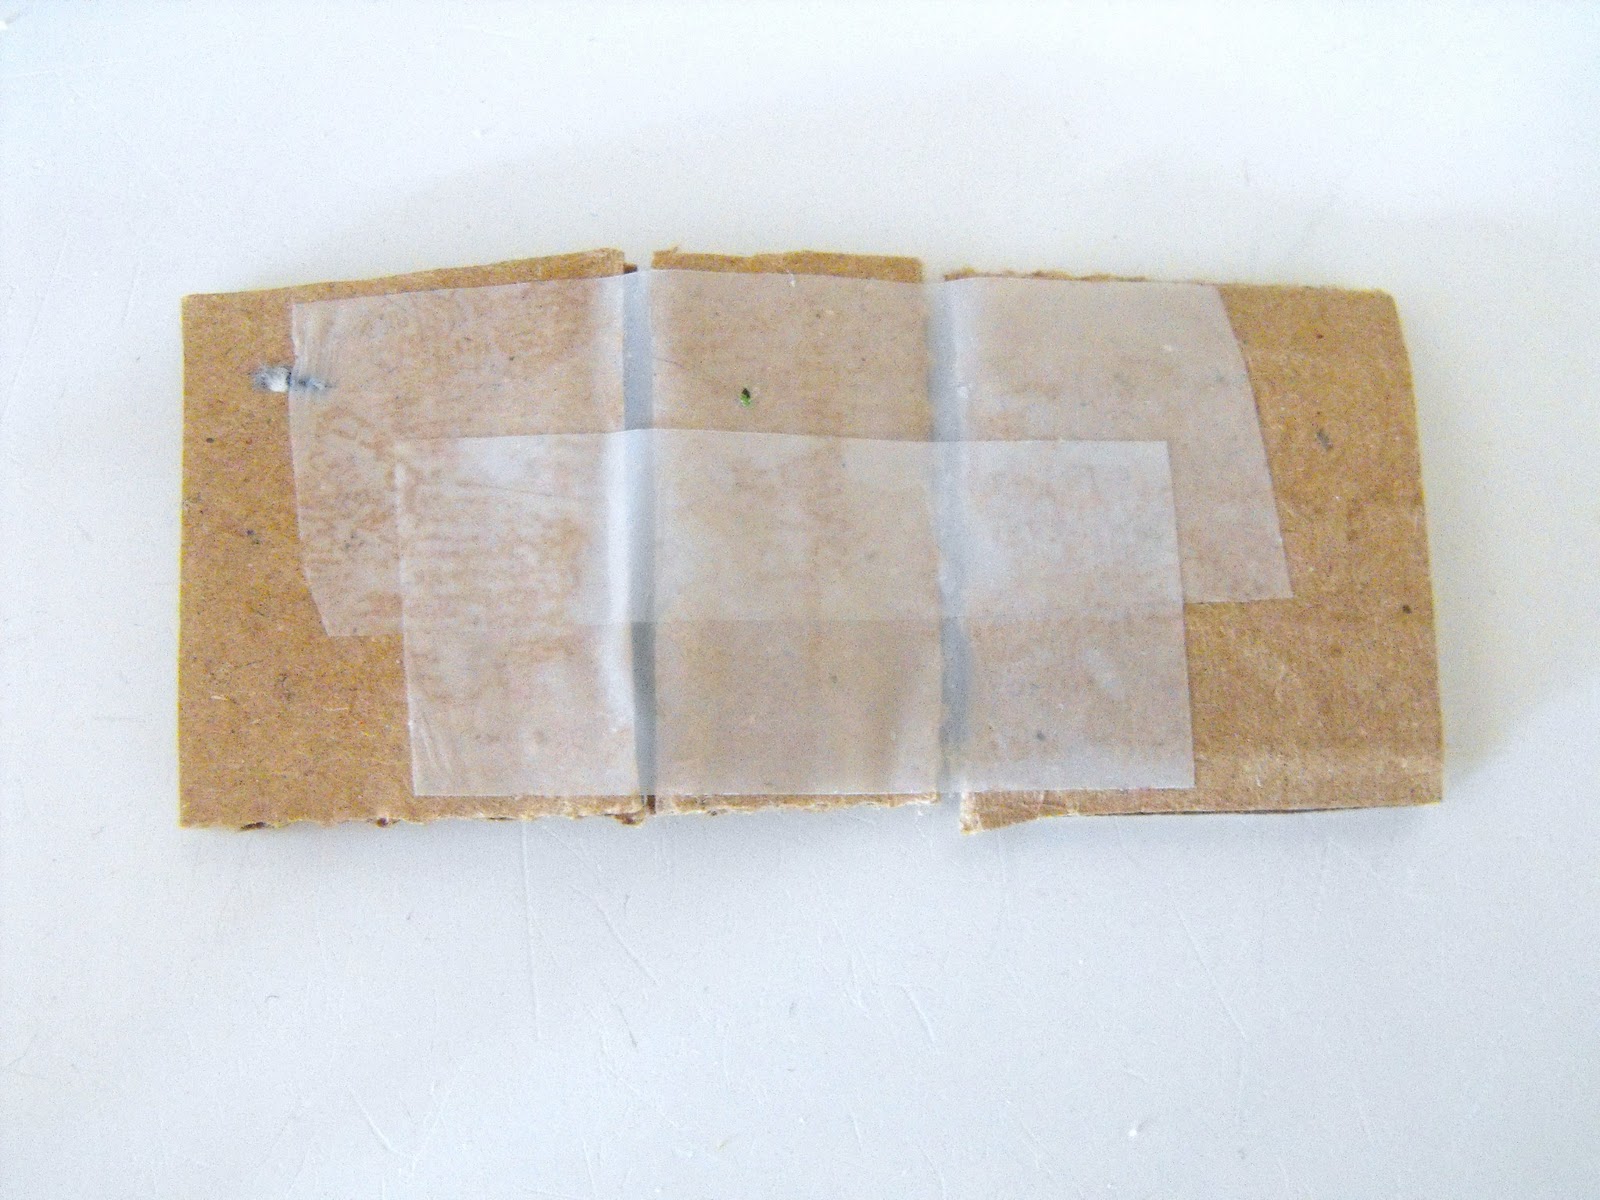

4. If you left enough gap you should be able to fold the cardboard into a book shape.

5. Taking a scrap of decorative paper, draw around the book cover, depending on how large a gap you left the measurement for this will vary. Add Double sided tape to the decorative paper and stick to the book cover, either side is fine.

6. Fold the book to give you a less flat book cover.

7. With a hot glue gun stick the wedge of papers folded 'spine' side down into the centre of the book cover, don't be scared to use a great big glob of hot glue, more is more in this case. Push down gently to make sure all the pages adhered nicely.


9. With Hot glue again take a scrap of leather and stick the outside of the book cover to it, you can trim round it once it's stuck, don't worry too much about the Leather looking rough or feathered at the edges, it's meant to look old right?

10. Now for the fun bit, I used a Sharpie in Gold with a fine tip and made a rough edge of Gold around the outside of the book cover.then smudged it with my finger to age it a little.


Hope this was worth the wait, an enormous 6 month pregnant belly and a grumpy Potty training Toddler has been slowing me down these days, oh and the foot is still in a cast but not for long.

25 comments :
this is definitely going on my to-do list!
Thanks ladies, I had great fun making these, who doesn't love Books, and Books + miniature = instant cuteness!
Oh, this is so going in my Harry Potter loving daughter's stocking this Christmas!
Just made 5 of these using stuff I had at work. Thanks for the inspiration!
Awesome!
You made 5? Gee whizz Christina get back to work quick I don't want you to get fired :)
Thanks for the lovely comments, wow this tutorial gets around!
adorable, i love to make little books and certainly will try this "spooky" version, thanks, great tutorial!
This spell book is very charming. I hope I have leather that is ragged looking.
Not only is the little book great, but frankly, I love your instructions because they are so easy to understand. Sometimes some
'structions are so "well written" that I find them impossible to follow. But when I was reading yours, it was as if you were just telling me how to do it. Not in the least bit intimidating. Thank you. I think I will be back to read your blog again.
BTW - good luck with the little ones. The one that is here already and the one on his/her way.
You are a hero to be a mom.
Ann
Love these, so cute!
I could see myself making a whole library of miniature books!
Ann and everyone else thank you so much for your kind words. I really do try and make my instructions really easy to follow otherwise what's the point right?
Ann it's comments like yours that totally make me want to share more tutorials. :)
Well, get on it, gurl. I know that kid and kid-to-be don't keep you all that busy (ha). But, really, would love to see more of your tutorials. Stay well. Drink your milk and put your feet up once in a while during your wait for the second one. I know you must get tired.
totally making this. Thank you so much!
I found your tutorial via pinterest. These are adorable. I would like to make some for our dollhouse.
Found on Pinterest. Fantastic! Can't wait to make some. Thanks for sharing
I found your tutorial on Pinterest as well, and just to thank you for the awesome work you've done to make this simple for me to understand!
I can't wait, I'm going to make a couple of these for charm necklaces that I sell as part of my jewelry business.
Best wishes,
Amber
This is very well made. I am impressed. Thank you for the tutorial! Mini anything is adorable :)
This is fantastic! Love it!
I'm so glad I came across(Pinterest) this tutorial from you ! Can't wait to try my hand at one of these !!
Debbie
Dang Cute!!! and who doesnt just love love miniature stuffz!
I LOVE these, SO CUTE!!! Love tiny things!
Thank you so much Heather, I totally agree, nothing cuter than something tiny!
Xoxo
Hi!
I've found your tutorial a few months ago, and I recently decided to make one for one of my friends.
The result was really awesome, and I loved your tutorial so much, I was wondering if it's possible to translate it to french, to make it available to frenchies who don't speak english at all?
Anyway, the step-by-step is really easy to follow, so thank you so much for showing us how to :)
Have a nice day :)
Adeline I'm so glad you liked it. I really try to explain things simply so everyone can make them. Are you willing and able to translate? If so please let me know x
Hi again :)
Yes, I'm able to translate, and I would be so glad to do it :)
If you agree with it, I'll do it on my own blog, linking back to yours, of course (I can't even imagine no link to your blog, it would be so rude >_<).
Do you mind if I use your pictures for the step-by-step? I completely forgot to take some when I was crafting it, I just took a pic of the final result.
If you don't want me to use it, don't worry :) I've planned to reuse your DIY to make a bigger book for my dad's Christmas, so I can craft it sooner than I thought, and take pictures with it :)
For the translation: I'm actually a native french speaker who studied at least 10years english, and I'll begin a degree in english litterature, culture and more this year :) And, well, translating to your own language is always much easier than from your language to another :)
To conclude: it will be a real pleasure to translate it :) I'll come back here as soon as you let me know about the pictures, and I'll give you the link to the post as soon as I've writen it :)
Oh and, by the way, don't worry, your explanations are really clear and simple, it's a real promenade to craft it with your step-by-step ^^
Have a nice day.
Adeline please feel free to translate and I don't mind you using the photos as long as credit is given. X
Post a Comment