Showing posts with label Crafting with Kids. Show all posts

Wednesday, February 13, 2013

Valentines Day Potato prints


Looking for a quick and easy Valentines craft to make with the kids?
 
Root through your veggies lol and make Potato print Valentine cards.
If you're like me and likely to lose a finger cutting freehand then try using cookie cutters.

Cut the potato in half, press in the cutter and leave it there. Slowly cut round the cutter from the side of the potato then remove and try out your perfect Heart stamps.

 
Yuck wrinkly black potatoes, do not feel the least bit bad about wasting these ones.

Sunday, February 3, 2013

Tutorial GIANT Baby Crayons

 
(Don't worry, you don't need a GIANT baby for this tutorial, I know kinda misleading huh?! Just a regular sized one will do)
 
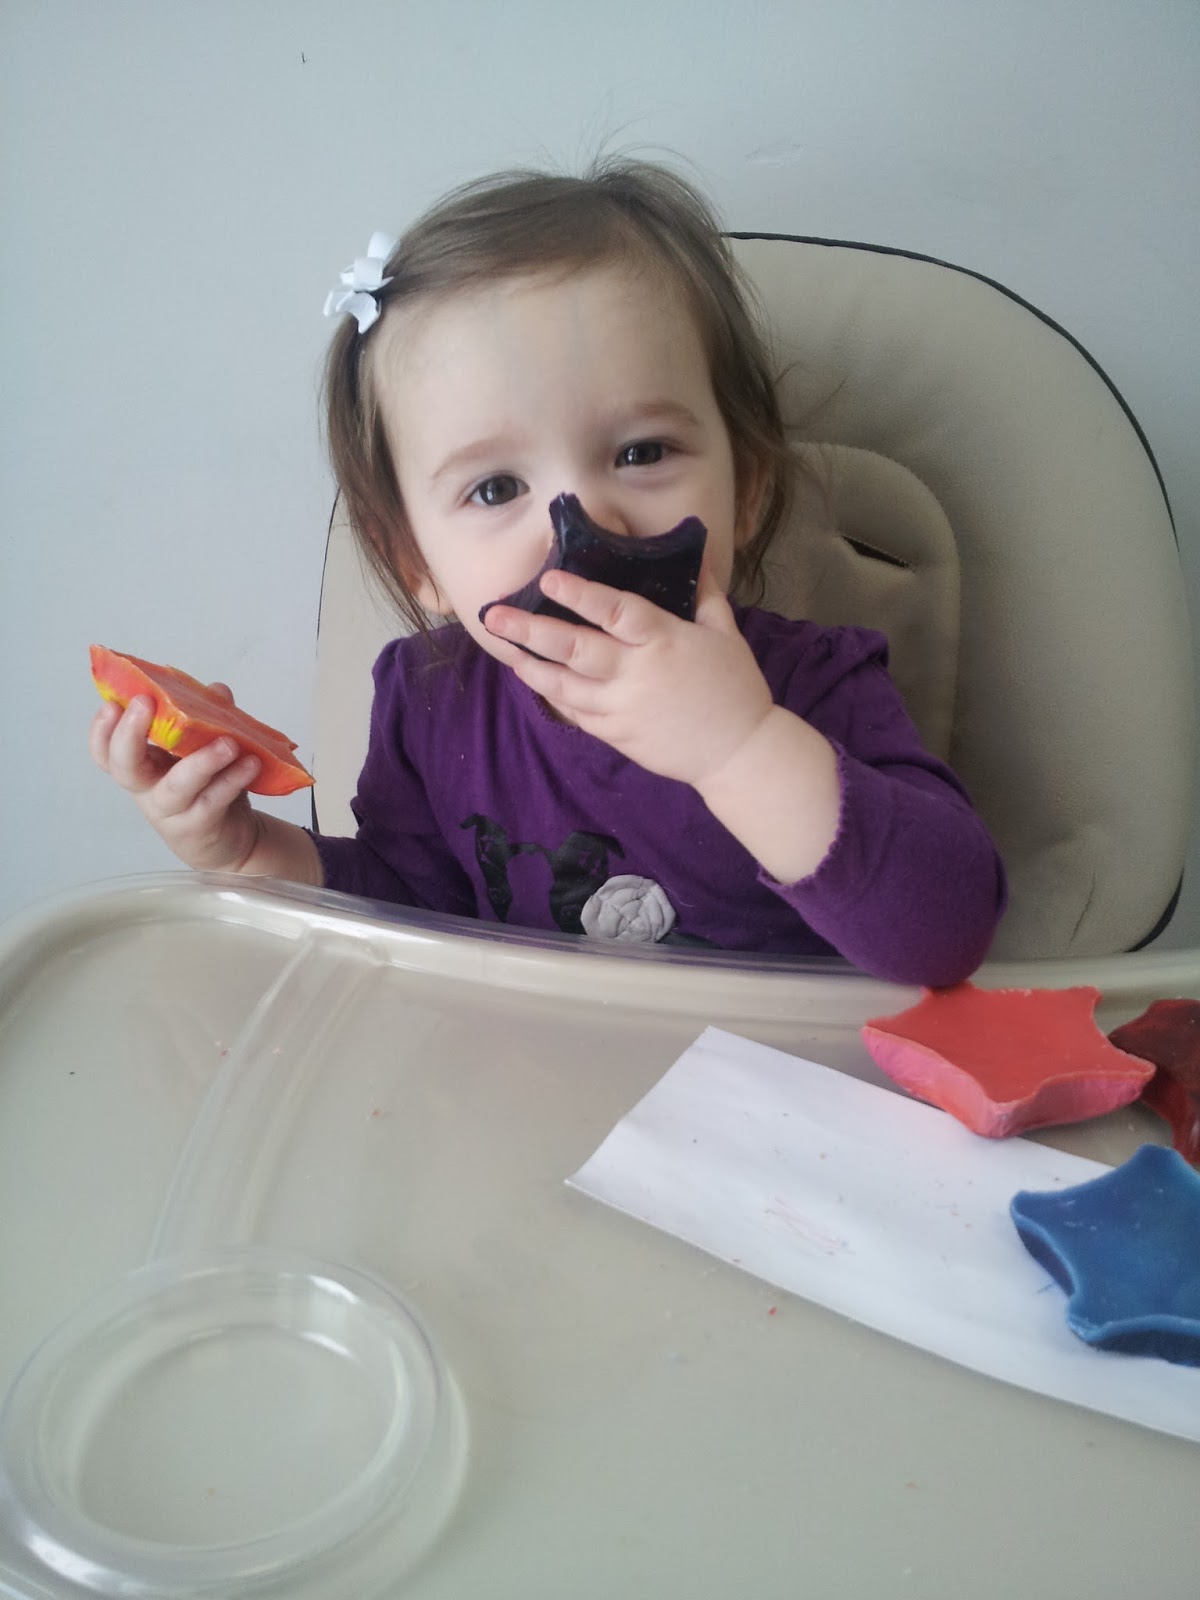
We've all seen the tutorials for melt your own crayons, and they are great, and perfectly serviceable butttt my kids can fit a dozen in their mouths at once, sooooo I need them BIG. Have similar baby crayon munchies? then warm up your oven and raid the Crayon tub.
 
What you'll need:
 
A stack of old Crayons
Oven
Small Cupcake sized Foil Cake pans


Top Tip: Only use decent crayons, Crayola are great, Dollar store brands are more wax than pigment and the wax will separate into a waxy non colouring surface to the crayon, not good.
1. Remove paper wrappers (soak in water if difficult, you may need to scrape with a knife to remove some tough residue)
2. Separate into desired colour arrangements and snap into small pieces
3. Preheat oven to 350F
 
4. Pop in individual foil cake pans and place in baking tray. Cook for 15 mins or until fully melted into a crayon soup
 
5. Wait for them to cool
6. Any rough edges just scribble on paper to 'sand' them nice and smooth.
 
Since they are hand sized these are great for young children, they can't swallow them (too big) and they are easy to pick up for even 1 year olds and below
Note: Check crayons are non toxic before using, also non toxic and edible are too very different things. You won't want your baby gnawing on these so always use under supervision.


Baby girl testing out the too big to eat theory


Action Shot
 
A stack of these would make great gifts, they last ages and won't snap if you make them thick enough. They are a perfect take along craft for long journeys and they're guaranteed not to roll under the table of your Camper Van ;)


Thursday, October 11, 2012

Tutorial Kids Halloween Crafts - Milk Bottle Top Spiders

Nothing gives away your age like being obsessed with pipe cleaners and pompoms. Yup 70's child front and centre! Except when I was little they actually were for cleaning pipes and only came in Yellow from the smoke shop. Hard to believe I'm only mid 30's right?
Moving swiftly on, just made these for the little guy and had to share, tons of fun, Pompoms, Googly eyes, Pipe Cleaners, Ribbon, and ... Milk Bottle Tops, heaven.

Milk Bottle Top
Glue on your pompoms
Glue on two more for eyes and 2 Googly eyes

Wrap base of lid in ribbon/bias tape just to hide the ugly plastic. If you have plenty of pompoms you could use those instead
Cut a small piece of Pipe cleaners for fangs and 8 Z shaped pieces for legs
Glue on fangs
Flip him/her over and glue the legs in place, hold on to each one for 5-10 secs to make sure it's glued properly or it will come off when you start rearranging the legs.

Flip it back over and play around with the legs until it either sits or stands.


It's ok they're tame, just don't feed them after midnight! (Ancient movie reference ahoy!)

Wednesday, July 25, 2012

Summer Crafts for Kids - Dinosaur Fossil Tutorial


After a recent trip to Drumheller, THE Dinosaur capital of Canada, my future paleontologist got his craft on with some Salt dough to make these DIY fossils.

What you'll need:

Plastic Dinosaurs
Salt Dough Recipe from The Imagination Tree (Ace kids craft site)  
Rolling pin
Chopping Board (easier to clean up)
Drinking Straw
Brown Chalk (optional)
String

1. Make the dough, tear into smallish balls, and press down  making a rough circle shape.

2. Press Dinosaur parts into the dough.

3. Poke a drinking straw into the top if you want to hang it up.

4. Bake as per recipe (3 hours as long as the dough piece isn't too thick)

5. Crush up some brown chalk and rub that over the baked 'fossil' to age it.

6. Thread a piece of string through the hole at the top and hang on kiddos wall.


Spooky faces appearing as if by magic


It's all fun and games til Dad takes over!


A Parasaurolophus so my 3 yr old informs me!


The baked article, I liked the look of the cracking and irregular shape.


After aging with Brown chalk.


And because Salt Dough isn't just for kids, a sneak peek at some Christmas in July projects I've been working on.

Related Posts Plugin for WordPress, Blogger...
01 09 10