
What you'll need:
Seam Ripper
Ribbon
Fabric Tape/fabric glue stick
Premade loops/bias tape/ribbon/elastic.
Buttons (as many as you have button loops)
A Dress with a Centre Front (CF) Seam (a seam running down the middle)
Sewing Machine (that's a given)

1. Unpick the seam from the top of the Centre Front Seam (CF) to just under your bust, where your bra finishes is probably a good place to stop.
 |
| Before unpicking Centre Front seam |
 |
| Seam unpicked |
2. Take your ribbon and cut it to the length of your opened seam plus a little extra (2 cm should be enough)
3. Fold 1cm (doesnt have to be exact just trying to give you an idea) under at both ends of the ribbon, this is just to stop it fraying so you could always treat it with fray check instead. I fray checked mine after sewing (it's easier to do it before obviously)
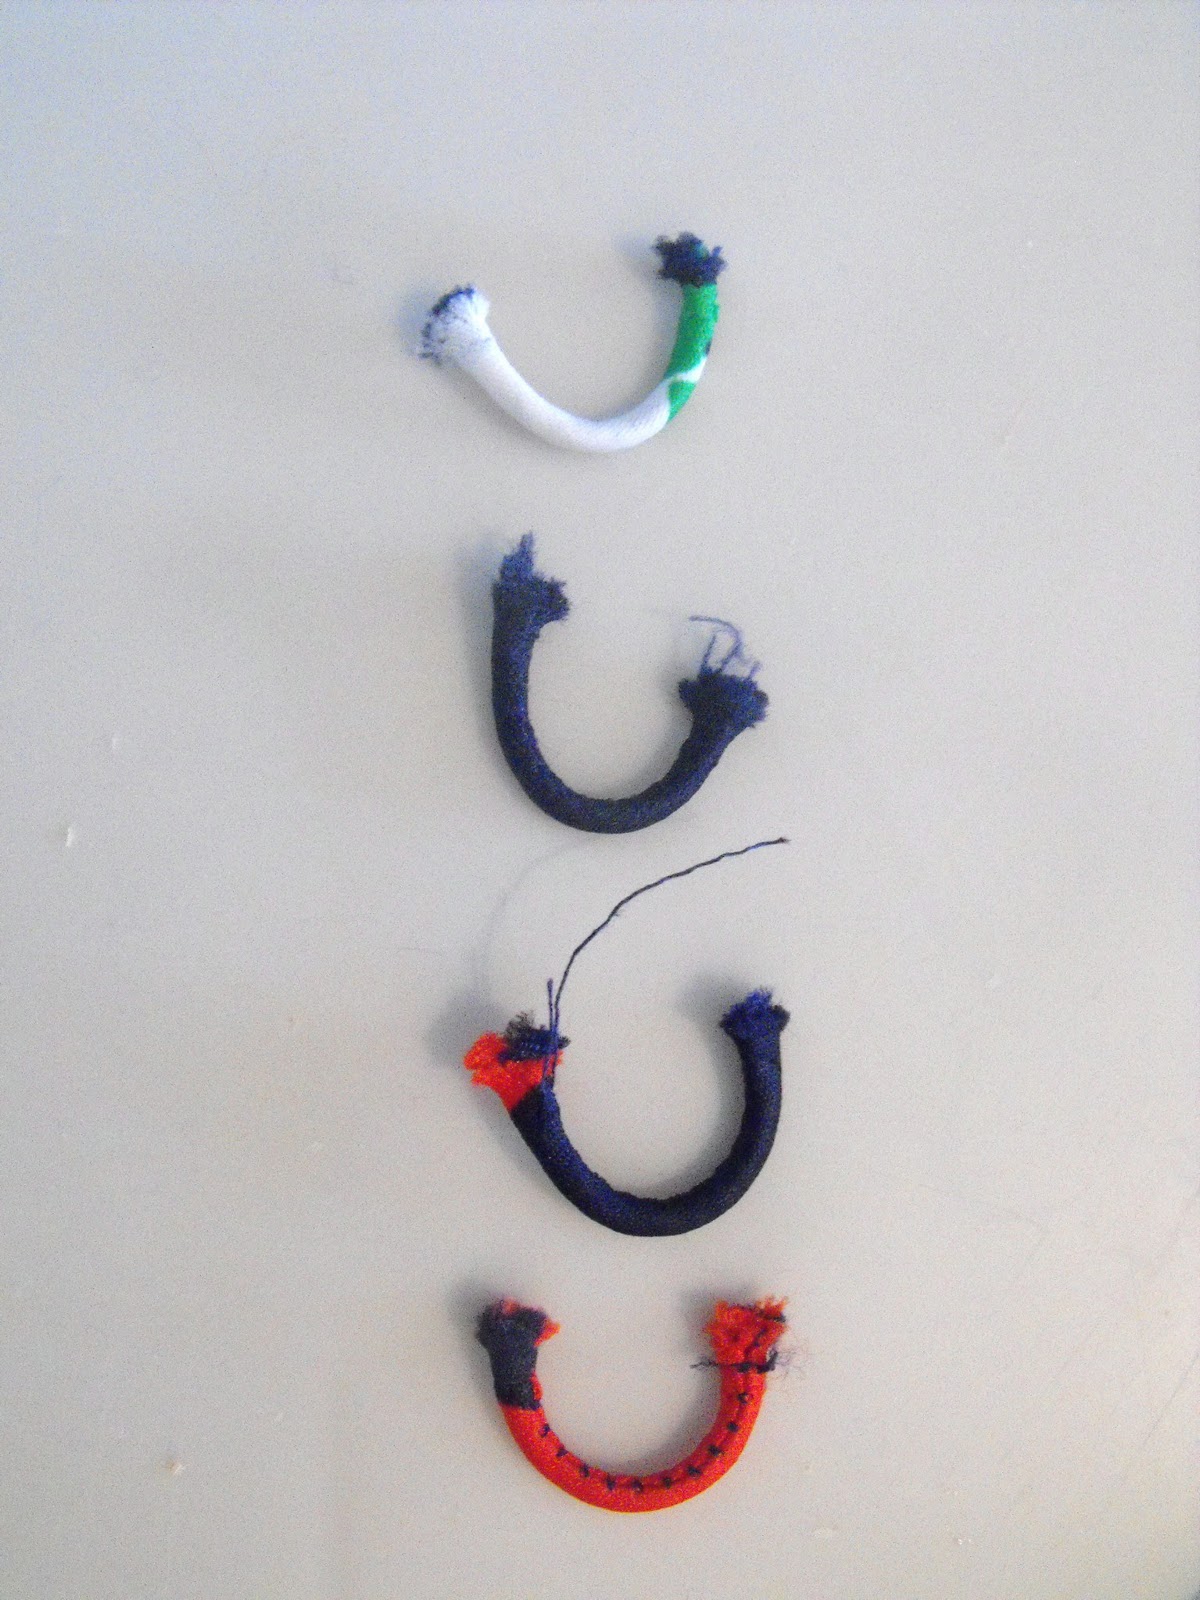
4. Now I was lucky enough to have had pre-made loops which I unpicked from the sleeve of this dress but you could also make your own out of thin ribbon, elastic or pre cut bias tape stitched closed.
 |
| Two sleeves with two button loops on each, sweet! |
 |
| Unpicked sleeve button loops |
Two tutorials to help you make your own button loops if your thrifted/freshly sewn dress didn't already have them:
5. Now stick a length of fabric tape to the right hand edge of the ribbon, peel off the backing and press the loops down on the tape making sure that they are all an even width apart and facing the correct way (depending on what you use for the loops there may or may not be a front or back) mine had stitches on the back so I made sure these were all facing down. The smiley is the good side, frown is the stitches visible side.


6. Fold the ribbon in half so the ribbon conceals the raw ends of the loops and press down so the ribbon sticks together, you want to make sure that the loops aren't going to jiggle about when you're sewing them down.


7. Then add another length of fabric tape to the top of the ribbon as below, this will keep it in place whilst you sew it down.

8. Take the ribbon to the dress and pop it behind the front unpicked seam so that the ribbon is completely covered but lined up with the open edge of the dress, you'll want to put it behind the left (as you look at it) side so that when the dress is on the right side loops over the left. This is the way womens shirts button up, just remember this 'Women are always right'. Now stitch the ribbon down making sure you use a small stitch length (1.8 is fine) and stitch over the loops going back and forth several times to keep them secure.


9. Stitch the other open side of the seam just to keep the seam allowance from flapping open. Depending on the size of your ribbon you may want to add another row of stitching parallel to the rows you've just made to keep the folded edge of the ribbon secure.

Here's what the CF seam should look like, two of my loops are dark so excuse this photo


10. Stitch on your buttons, making sure that they fit through your button loops first. Shank buttons are probably your best bet, these are the ones on stalks if you will :) I only had three matching white buttons (oops)
Sit back and admire your work, then, and this is the most important step, drop me a line to say thanks ;)

This tutorial was brought to you thanks to my little boy Noah and a big jar of Buttons!
11 comments :
You are soooo inspiring. Thank-you for the hard work you do for us.
Thank you so much, your lovely comment has totally made my day :)
Sooooo cute! It really put more wow into the dress! Thanks for the post!
I read about this idea on Craft Gossip and this idea is just what I am looking for to replace a set of ties on the front of a lightweight jacket I made. The jacket is lovely, but the ties just don't look right on it and I think your idea will do very nicely...thanks!
Debbie...(O:
><>
Wow so cool! Thanks for the tutorial!
I had bought a fitted t from goodwill and it was a smidge to tight in the bust. I'm going to use this excellent idea to expand the bust. thank you so much for posting
Aww you guys are the best, I'm so glad this will be handy for you lovely ladies, I'm already working on the next Tutorial so stay tuned
xoxo
3 buttons is perfect! great job!
Came across this via Totally Tutorials - looks fab. Come by and say hi if you get a chance at The Quick Unpick I ♥LOVE♥ refashioning!
Cheers from your newest follower!
Great tutorial. Stopping by from Totally Tutorials. I love stopping by your blog and being a follower.
If you have a moment stop by my blog:
craftybrooklynarmywife.blogspot.com
I am doing a summery jacket with button loops and coming across your tutorial was a God send. Thanks.
Loredana
www.loredana61.blogspot.com
Post a Comment