
Series so far
Pt 1 - Collecting your sweater stash
Pt 2 - Buying and Felting your Sweaters
Without further ado let's get cracking with the next instalment.
So you've found your sweaters, felted them and are ready to chop and sew them together into something snuggly warm and well, less like a deformed shrunken sweater.
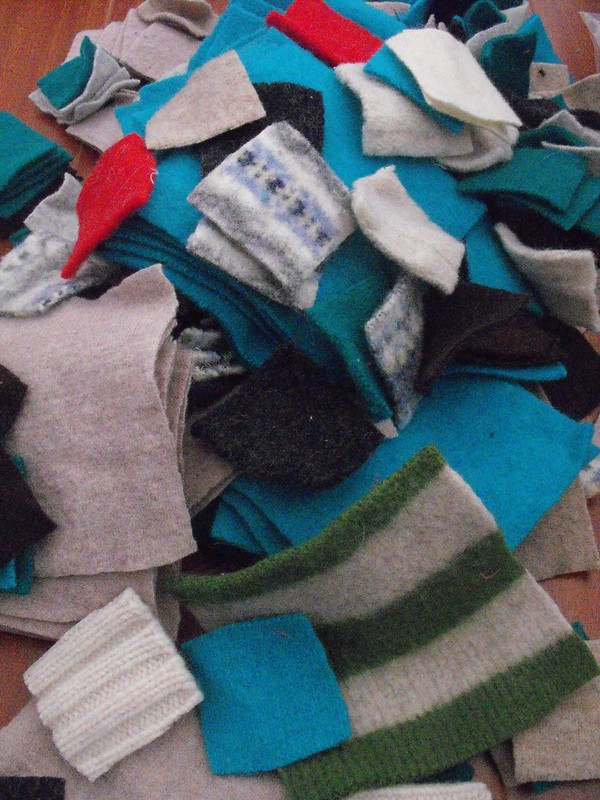
For a blanket measuring 31 inch x 37 inches
You will need to cut 80 4.5 inch squares
(no particular reason for this size other than it being a nice size for an armchair)
Cutting
I've used a Rotary cutter and ruler, and even scissors and a paper template pinned to the sweater and then cut round it, either works fine. Just get stuck into it and remember this is going to leave you covered in fluffy fibres so expect a little mess.
Avoid cuffs, necklines and ribbing, these can be saved for something else crafty and felty.
For my blanket I cut the sweaters into 4.5 inch squares for the larger squares, and because I was left with quite a lot of smaller pieces I decided to make a matching cushion with the smaller 2 inch squares. This was a great way to use up the awkward pieces left over and reduce my stash even further, win win!

Decide how you want your blanket to look, I opted for a super simple random colour mix and just stitched the squares together in strips then played around on the floor readjusting them until they looked as random as possible. It turns out that quite a bit of work goes into making things appear haphazard, who knew?!

Sewing
Regular Polyester thread, regular sewing needle stitch length at 2.0 and tension at your regular settings, it really isn't a big deal sewing with wool on your home machine, totally do-able for any basic machine. Just ensure you backstitch at the start and finish of each piece to prevent the stitching coming out before the pieces are sewn together.
Don't sweat it if the pieces are slightly off when you cut them, Wool is your friend and you can just lightly stretch the pieces to match up, this isn't traditional quilting or patchwork you can totally bend the rules!
To save you some time I would line up your squares into pairs with wrong sides facing then stitch each pair not breaking the thread until you've finished your pile (the wrong side is fuzzier than the right side but neither is too noticeable should you mix them up.) Once you have your pairs, stitch sets of pairs together and then fours together until you have the length of each piece matching the size you're going for. I put the whole blanket top together in an evening, blogging about it totally takes longer than making it I promise you it's going to come together super quick!
Last and final Tutorial coming up on Friday, let's get this blanket finished!
Final instalment here:
Pt 4 - Finishing up your Blanket
2 comments :
Hi!
I am starting a blog and linked one of your old posts about a vintage map notebooks crafting project. I hope it's ok and you like it!
http://itsanicefriday.blogspot.com.es/
Awww thanks so much, will be sure to check it out, welcome to the crazy busy world of Blogging xoxo
Post a Comment